Adding created pages in blog website
Pages
What are pages?
Pages are used to store static information that doesn't change often, such as:
Contact us information
Bio details
About us page
Blogging rules and guidelines
Terms and conditions
Privacy policy
and other
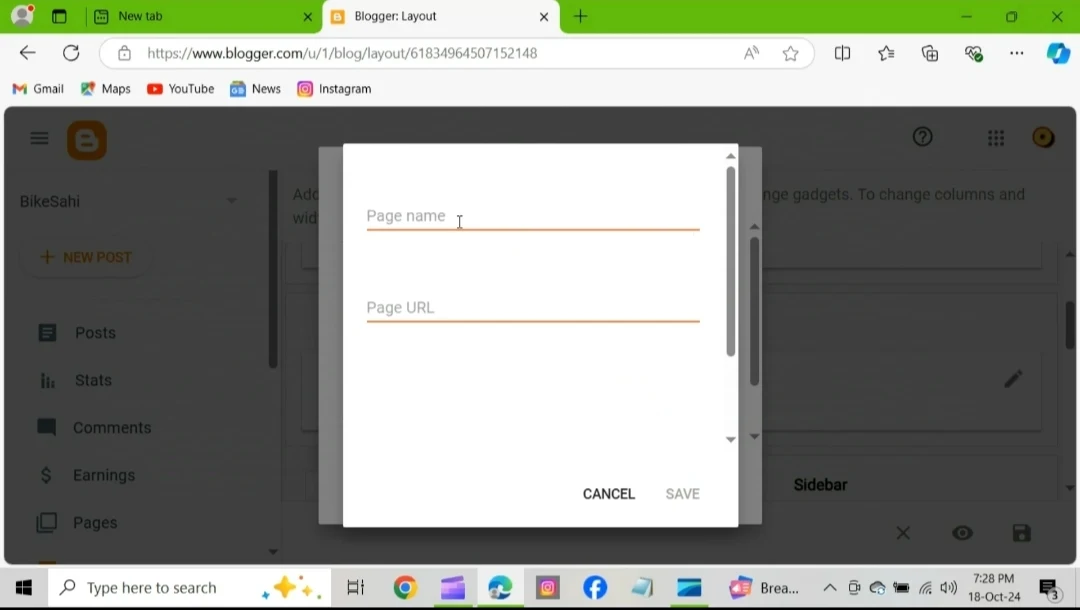
To add pages to a Blogger website, you can do the following:
1. Sign in to Blogger
2. Select a blog from the top left
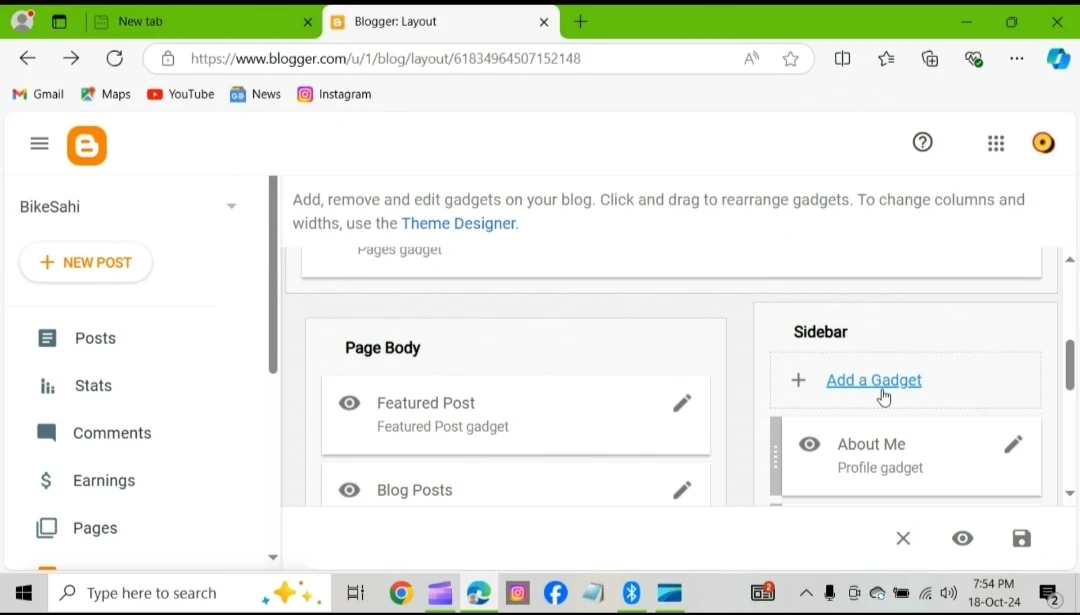
3. Click Layout from the menu on the left
4. Click Add a Gadget in the section where you want the pages to appear
5. Click Add next to "Pages" in the window
6. Set the settings and click Save
7. Click Save in the bottom right to save the arrangement
Why is it important to create and add pages in blog website?
For providing static information
Creating pages is providing static information e.g about us, contact us, disclaimer, privacy policy and other.
For Google AdSense approval
To claim Google AdSense approval creating few important pages is necessary.
For making your website look professional
Creating and adding pages in your blog website makes your website look a professional one and helps to gain attention from different platforms.


